Your cart is currently empty!
Tag: Canning
-

JeBouffe Home Canning Step by Step Guide (second edition) Revised and Expanded
This guide is intended to provide you with the essential information to make your first small jars in a safe and enjoyable way. It will guide you through all stages from preparation to storage of your products.You will discover the principles of conservation for different types of food, the benefits of home canning, the recommended…;

JeBouffePrice: Free
This guide is intended to provide you with the essential information to make your first small jars in a safe and enjoyable way. It will guide you through all stages from preparation to storage of your products.
You will discover the principles of conservation for different types of food, the benefits of home canning, the recommended methods as well as the ones to avoid.
Then you will learn the two proper methods of treatment: the boiling water bath and the pressure canning methods. You will find a list of essential equipment and the detailed steps for a successful canning experience.
Finally you will gain some hands on experience with our easy and delicious recipes.
This guide do not claim to be scientific or complete. We simply wants to give you the tools you need to get into the fun activity of preparing your home preserves.
About this second edition:
Following the success of the first edition, and thanks to some suggestions from our readers, we offer this revised version, corrected and expanded. We have included the imperial and some tables on the processing time for the preservation of the most popular fruits, vegetables, meat, poultry and fish. We also cover the effect of altitude on the processing time and pressure required for the safe canning of foods.Improving on the initial contents of this document we have also redesigned it to make it more educational, more fun to read and use.
We hope that this new revision will meet your expectations and wish you a successful canning experience and “Bon appetit”
=====
12 recipes that will allow you to practice the canning techniques. They are divided into three levels of complexity:
Level 1 = easy. The recipes are very simple. You can focus on techniques for canning without too much worry about the recipe itself.
Recipe # 1 – Apple sauce with a touch of nutmeg and vanilla (boiling water method)
Recipe # 2 – Canned Pears (boiling water method)
Recipe # 3 – Canned fresh tomatoes (pressure canning method)
Recipe # 4 – Canned Carrots (pressure canning method)2 = medium level. The recipes are a little more elaborate. There are more steps before moving on to canning.
Recipe # 5 – Tangerine marmalade (boiling water method)
Recipe # 6 – Pork Cretons à la JeBouffe (pressure canning method)
Recipe # 7 – Quick and Tasty Green Ketchup (boiling water method)
Recipe # 8 – Marinara Sauce (pressure canning method)Level 3 = complex. The recipes are longer and more complex. There are more steps before moving on to canning.
Recipe # 9 – Plum jam with cinnamon (boiling water method)
Recipe # 10 – Nectarine Chutney (pressure canning method)
Recipe # 11 – Cherries and Raspberries Spread (boiling water method)
Recipe # 12 – Kedjenou chicken (pressure canning method)By following these recipes step by step, we guarantee the success of your first home preserves. After having practiced the basic techniques you can apply them to your favorite recipes and get our book “JeBouffe Home Canning Recipes volume1” for even more idea.
Full Customer Reviews:
-

Transitioning the Vegetable Garden from Spring to Summer
— Gardening Tips —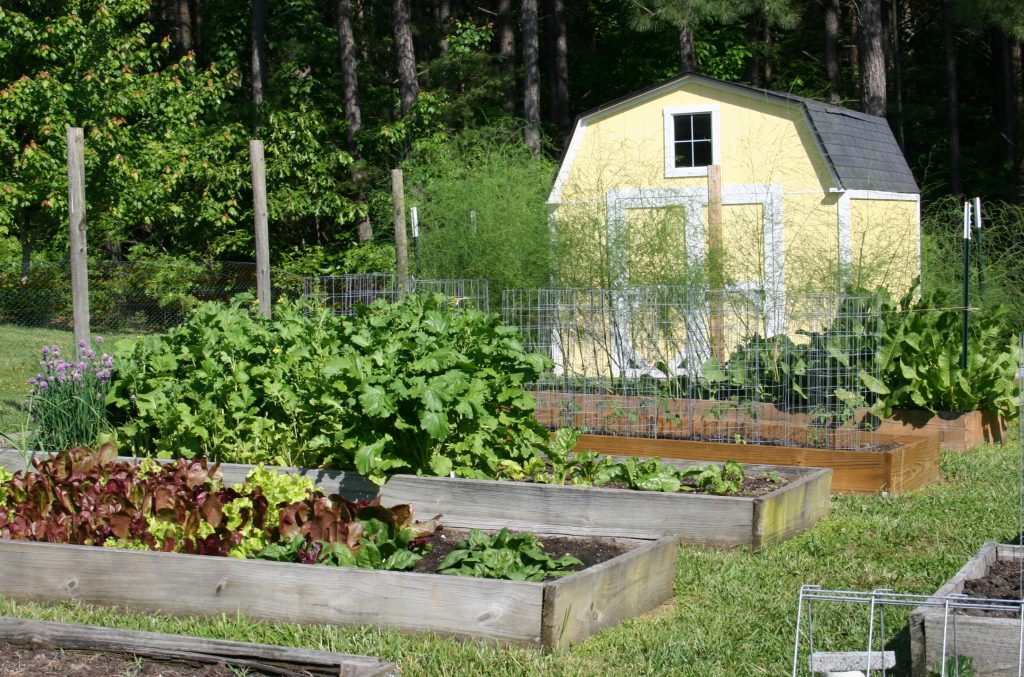
This is the time of year when I transition the vegetable garden from its spring crops into summertime. It’s the time of year when we never seem to have enough room in the raised beds nor enough time to do all of the work we set out to do in a given day.
In the vegetable garden, the broccoli rabe is at its peak, and the lettuce is, too. The beets will be ready for harvesting, pickling, and canning in about three weeks or so. Strawberries for jam are just starting to arrive and are protected thanks to the bird netting that keeps my nemesis, the local crow murder, from eating the harvest before I get to them. Peas twin on the Vine Spine Linking Trellis and start just starting to flower. Onions and garlic are maturing and the radishes are almost finished.
Newly planted carrot and parsnip seeds peek tentatively above the earth. Tomato plants expelled from hothouse splendor now wave from behind the safety of their cages. And waiting on the porch for truly hot weather are the flats of sweet potato plants who need heat and plenty of it to be happy.
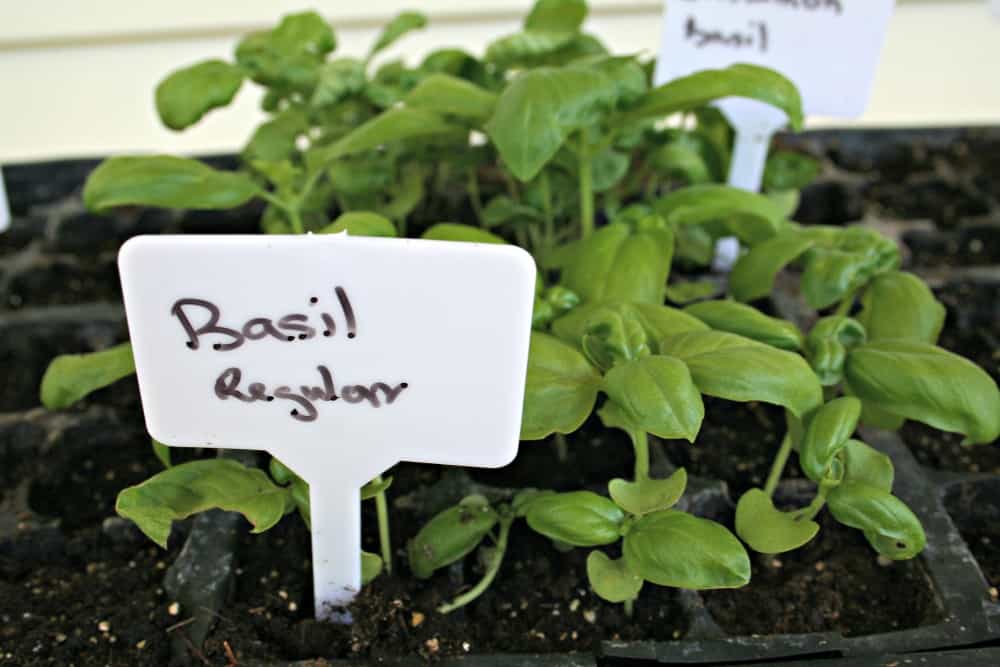
Among the herb garden plants, the catnip is ready for harvesting, and I’ve already cut and dried another pint of oregano. I have cinnamon and Genovese basil plants ready to set outside and parsley and dill have been moved from the safety of their flats to the garden beds. I mix parsley and dill into the herb garden, the butterfly garden as food for hungry caterpillars, and in the vegetable garden so there is always plenty for us all.
We’ve been busy weeding all of the flower beds in the perennial garden. It is hot, dirty work. Last year, I got behind in the weeding and the weeds took advantage of my laziness to creep into every nook and cranny among the plants. Hubby and I have worked out a system whereby I week from 7 to 8:30 each morning and then he mulches the area afterward. When we finish the entire garden in about two weeks I will start again, tidying up the areas we’ve already done.
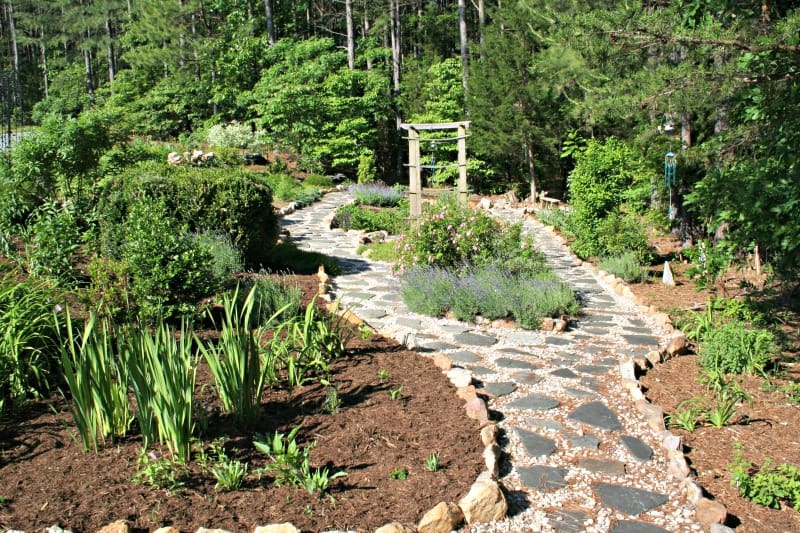
Our goal this year is to keep the garden in top shape as long as we can. The heat is always a problem and keeps me from gardening longer, but I have learned the hard way that a little sustained daily effort accumulates into success.
May is a busy month, but I have found time to update the monthly gardening tip sheets available free here at Home Garden Joy. I have also started a new short gardening book that I think you will enjoy! Stay tuned, be sure to join our email list for the latest information, and keep gardening and growing!
http://homegardenjoy.com/site/2017/05/transitioning-vegetable-garden-spring-summer.html
On – 18 May, 2017 By Jeanne
-

5 Keys To Growing Cucumbers – Grow A Banner Crop This Year For Pickles And More!
Growing Cucumbers! When it comes to backyard gardens, cucumbers are right up there with tomatoes as one of the most popular home-grown vegetables.
It’s not hard to figure out why. Is there anything better than a fresh cucumber sprinkled with a little bit of salt? And beyond that delicious fresh taste, they are, of course, prized for making pickles. In our house, pickles rule! (See our Pickle Recipe Page)
Whether its making a quick batch of our overnight garlic pickles, or canning bread and butter, dill or hot pepper-garlic pickles, we simply love them!
But to make a lot of pickles, you have to grow a big crop of cucumbers. I have to say, it took us several years to really perfect the art of growing a banner crop. We thought we would share 5 of our biggest tips we’ve found to help grow that perfect crop.
5 Keys To Successfully Growing Cucumbers
#1 Plant In A Sunny Location
At the top of the list, sunshine. Cucumbers need the sun, and a lot of it! Locate your crop in an area that receives at least 8 hours of sunlight a day. Much like pumpkins, gourds and zucchini – cucumbers rely heavily on the photosynthesis process to grow the strong vines needed to producing heavy fruiting. No sun, no photosynthesis.
Locating your crop in the sun also allows leaves and vines to dry off from early morning dew. This is a huge help in controlling mildew and blight. Avoiding both of those issues are big to keeping your crop healthy.
#2 Provide Rich, Fertile, Well Drained Soil
Cucumbers love rich, fertile, well-drained soil. The more you nutrition you can provide at planting time, the better. We add a few shovelfuls of compost, and a quarter cup of worm castings to each planting hill or container. It creates a rich soil for the young seeds or transplants to get off to a great start. The worm castings / compost combo has made a huge difference in the health and productivity of our plants!
When planting directly into the soil, we plant in slightly tapered hills about 18″ in diameter, 3″ to 4″ high. This helps keep the plant stems out of sitting water during heavy rains or watering.
We prefer planting transplants over seeds. The added growth and strength help give them a better chance to avoid dreaded cucumber beetle attacks. If you are planting transplants, use two plants per hill. If you seed, plant 3 and thin to 2.
Cucumbers, especially bush-style varieties, can be planted in containers as well. Again, be sure start off with a rich, well-drained soil mix to give plants the nutrition they need. Use only one plant per container to avoid draining the soil too quickly of nutrients. Product Link: Worm Castings
#3 Be Careful What You Plant Nearby
What you plant around your cucumbers can play an important role in their productivity. One thing to avoid for sure is planting cucumber crops near potatoes.
Potatoes release a substance in the soil that greatly hinders the growth of cucumbers. Radishes, on the other hand are great, as they help to repel harmful insects like cucumber beetles and aphids that attack tender cucumber plants. It is also easy to sow a few inexpensive radish seeds around plants. They germinate fast and really do help stave away the beetles.
Nasturtiums and Alyssum are also excellent to plant right alongside your growing cucumbers.
The nasturtiums will help repel and deter a whole host of nuisance insects, while the alyssum acts as a sacrificial plant to beetles, keeping them away off of your cucumbers.
One final note on where you plant. Be sure to practice crop rotation. You can keep soil-borne disease at bay by rotating your crops each year to a new location. Wait at least three years before planting them back in the same location. This allows the soil to recover, minimizes disease, and reduces the possibility for infestation.
#4 Provide Support
If you are planting a vining variety of cucumber, be sure to provide support in the way of a trellis, fence, or rope or wire. A folded piece of metal fencing will work great in open garden settings. By providing a place for the vines and cucumbers to grow, it keeps the plants and fruit off the ground and less susceptible to mold, blight and disease. It also helps support them during winds and heavy storms.
Compact, bush varieties can usually be grown without support, but even with these varieties, a little help in holding them up goes a long way. Seed Links : For canning we grow Boston Pickling and National Pickling. For fresh eating : Straight 8,.
#5 Harvest Regularly
Once cucumber plants begin to produce, you need to pick regularly to keep them producing well. If left on the vine too long, cukes get woody, full of seeds, and bitter. In addition, the plants will put their energy towards making the existing fruit larger, and not producing new blooms. Check plants daily, cukes can go from 2″ inches to 12″ in a day or two!
There you have it! Five of our favorite tips for growing cucumbers successfully. We hope you enjoyed this week’s gardening article. If you would like to receive our DIY, Gardening and Recipe articles each week, you can sign up to follow the blog via email in the right hand column above, “Like” us on Facebook, or follow us on Twitter. This article may contain affiliate links.
https://oldworldgardenfarms.com/2017/04/06/growing-cucumbers/
On – 06 Apr, 2017 By oldworldgardenfarms


